Important Announcement
Title, thumbnail ya video me agar abusing, adult ya sexually explicit content paya gaya to channel bina kisi warning ke permanent delete kar diya jayega. Yeh rule turant lagu hai. Ab tak 350+ channels delete kiye ja chuke hain. Kripya kisi bhi prakar ka adult ya abusive content upload na karein. Rule violate hone par channel bina bataye delete ho jayega.
— Team ApnaTube
শর্টস সৃষ্টি

suryaputra Karn
#viral🙏🙏🙏🙏🫂🫂🫂🫂❤️🩹🫂❤️🩹
10
0
6
28

Any regret 🖤🫠?
subscribe and support me.
5
0
11
28

#trending#shorts#video# channel
0
0
4
10

scorpio
7
0
3
9
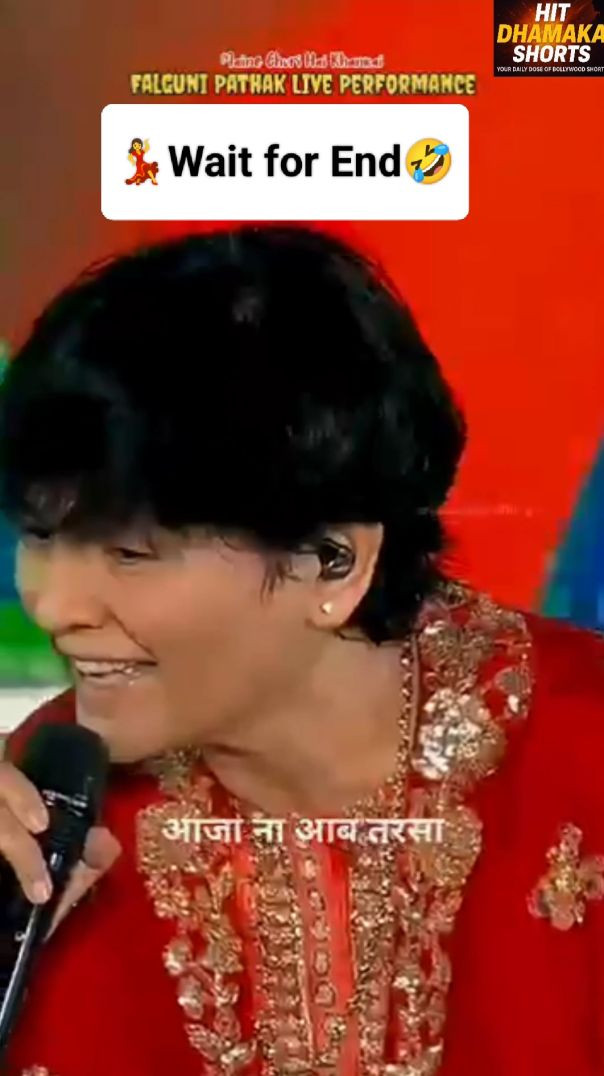
“Maine Chudi Hai Khankai 💌🎙️ Falguni Pathak ka evergreen hit song!
Romantic vibes, pure melody aur short format mein best musical moment.
Aise aur Bollywood musical shorts ke liye channel ko Suscribe kijiye. ❤️🎶
#shorts #falgunipathak #hindisong”
Maine Chudi Hai Khankai song
Falguni Pathak hits
Falguni Pathak shorts
Hindi romantic song short
Bollywood love song short
Chudi Hai Khankai short video
Falguni Pathak viral shorts
Old Hindi song short
Bollywood trending shorts
Romantic melody short
90s hit Hindi songs
Falguni Pathak music
Short video Hindi song
YouTube shorts Hindi music
Romantic Hindi shorts
Bollywood short clip
Trending Hindi song reel
Falguni Pathak live song
Viral Hindi song shorts
Bollywood evergreen song
#MaineChudiHaiKhankai
#falgunipathak
#HindiSong
#BollywoodShorts
#ViralShorts
#MusicShorts
#LoveSong
#TrendingShorts
#OldHindiSongs
#HitDhamakaShorts

0
0
2
9
kishori

3
0
1
7
